Featured Files
See All
Vom Feuer Service Pistol (Pack) [Add-On | Animated | Tints | Lore-Friendly]
1.0
By HeySlickThatsMe
![Vom Feuer Service Pistol (Pack) [Add-On | Animated | Tints | Lore-Friendly]](https://img.gta5-mods.com/q95-w550-h275-cfill/images/vom-feuer-service-pistol-pack-add-on-animated-tints-lore-friendly/9787d1-Title-min.png)
F-14A Tomcat Iranian Air Force [Add-On | VehFuncs V]
1.0
By SkylineGTRFreak
![F-14A Tomcat Iranian Air Force [Add-On | VehFuncs V]](https://img.gta5-mods.com/q95-w550-h275-cfill/images/f-14a-tomcat-iranian-air-force-add-on/50e265-7.jpg)
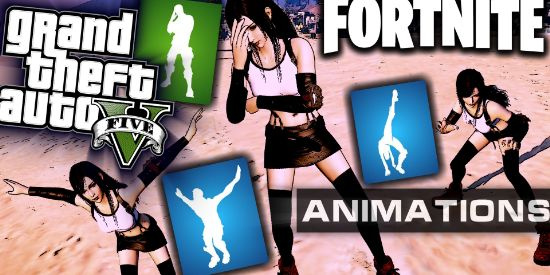
Fortnite Emotes in GTA 5
1.0
By Victorch4
Mitsubishi Lancer Evolution X Final Edition [Add-On / Replace | FiveM | 270+ Tuning | Template]
v1.1
By ElioMinati
![Mitsubishi Lancer Evolution X Final Edition [Add-On / Replace | FiveM | 270+ Tuning | Template]](https://img.gta5-mods.com/q95-w550-h275-cfill/images/mitsubishi-lancer-evolution-x-final-edition-270-tuning-liveries-add-on-fivem-replace/47e4e0-varis-1-min.png)
![Vom Feuer Service Pistol (Pack) [Add-On | Animated | Tints | Lore-Friendly]](https://img.gta5-mods.com/q95-w170-h60-cfill/images/vom-feuer-service-pistol-pack-add-on-animated-tints-lore-friendly/9787d1-Title-min.png)
![F-14A Tomcat Iranian Air Force [Add-On | VehFuncs V]](https://img.gta5-mods.com/q95-w170-h60-cfill/images/f-14a-tomcat-iranian-air-force-add-on/50e265-7.jpg)

![Mitsubishi Lancer Evolution X Final Edition [Add-On / Replace | FiveM | 270+ Tuning | Template]](https://img.gta5-mods.com/q95-w170-h60-cfill/images/mitsubishi-lancer-evolution-x-final-edition-270-tuning-liveries-add-on-fivem-replace/47e4e0-varis-1-min.png)


![Anton Chigurh (No Country for Old Men) [Add-On Ped]](https://img.gta5-mods.com/q75-w500-h333-cfill/images/anton-chigurh-no-country-for-old-men-add-on-ped/7d343d-20240417201753_1.jpg "Anton Chigurh (No Country for Old Men) [Add-On Ped]")


![Vom Feuer Service Pistol (Pack) [Add-On | Animated | Tints | Lore-Friendly]](https://img.gta5-mods.com/q75-w500-h333-cfill/images/vom-feuer-service-pistol-pack-add-on-animated-tints-lore-friendly/9787d1-Title-min.png "Vom Feuer Service Pistol (Pack) [Add-On | Animated | Tints | Lore-Friendly]")
![Base Model Coil Raiden [Add-On | LODs]](https://img.gta5-mods.com/q75-w500-h333-cfill/images/base-model-coil-raiden-add-on-lods/a492bd-enb2024_1_21_23_12_28_46_1_75.png "Base Model Coil Raiden [Add-On | LODs]")

![Dodge Challenger Hellcat Widebody 2021 [ Add-On / FiveM | Animated | Tuning ]](https://img.gta5-mods.com/q75-w500-h333-cfill/images/dodge-challenger-hellcat-widebody-2021-add-on-fivem-animated-tuning/b581ea-AboM7sn(1).png "Dodge Challenger Hellcat Widebody 2021 [ Add-On / FiveM | Animated | Tuning ]")
![F-14A Tomcat Iranian Air Force [Add-On | VehFuncs V]](https://img.gta5-mods.com/q75-w500-h333-cfill/images/f-14a-tomcat-iranian-air-force-add-on/50e265-7.jpg "F-14A Tomcat Iranian Air Force [Add-On | VehFuncs V]")

![Knock-off 80's Skyway BMX [Add-On]](https://img.gta5-mods.com/q75-w500-h333-cfill/images/knock-off-80-s-skyway-bmx-add-on/9f0817-Untitled-1.png "Knock-off 80's Skyway BMX [Add-On]")
![Ferrari Vision GT [Add-on | Unlocked | Template]](https://img.gta5-mods.com/q75-w500-h333-cfill/images/ferrari-vision-gt-add-on-unlocked/7bf0e6-1.png "Ferrari Vision GT [Add-on | Unlocked | Template]")
 5mods on Discord